A gazebo serves as a splendid addition to your garden, providing a peaceful retreat and enhancing the overall appearance of your outdoor space.
Equally essential to its function is the gazebo roof, which shields you from the sun and rain, allowing for relaxation or entertainment, no matter the weather.
If you know the art of how to build a gazebo roof, especially as a DIY project, brings immense satisfaction and adds value to your home.
This article walks you through each step to create a durable and aesthetically pleasing gazebo roof.
Contents
Understanding the Basics
Before diving into construction, familiarize yourself with the main types of gazebo roofs such as octagonal, oval, rectangular, and custom designs, bearing in mind your specific gazebo structure.
The choice of material for your roof is critical. Options range from traditional shingles, metal roofing to more upscale choices like tiles.
You will need underlayment, plywood sheathing, rafter boards, fascia boards, a ridge board, and the necessary hardware like nails and screws. Ensure you have the right tools like a hammer, saw, and possibly a nail gun.
How to Build a Gazebo Roof?
Designing Your Gazebo Roof
Designing your gazebo roof requires thoughtful consideration of its dimensions, pitch, and style to ensure it complements your existing gazebo.
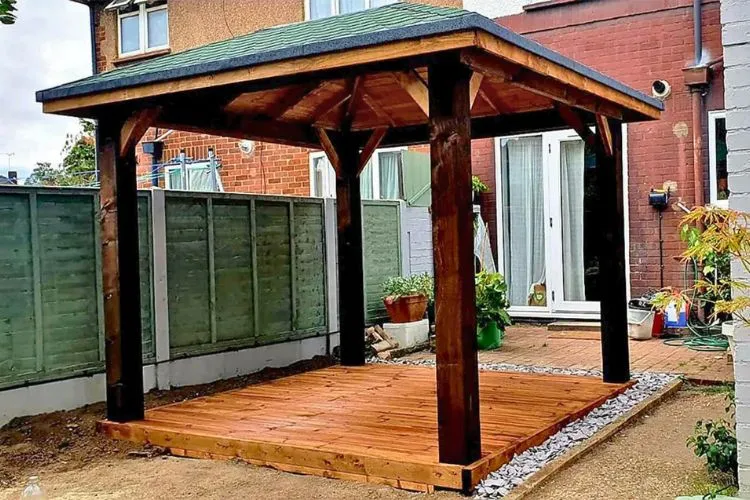
It’s also essential to check your local building codes and obtain any necessary permits to avoid any legal issues later on.
For precise measurements, consider using a gazebo roof framing calculator, which can be a valuable tool in this planning phase.
Preparing the Materials
Once you have your design, the next step involves measuring and cutting your materials to size.
Pay particular attention to the rafters and fascia boards, ensuring their dimensions align with your design.
Safety is paramount when cutting materials, so always follow the recommended practices when using power tools.
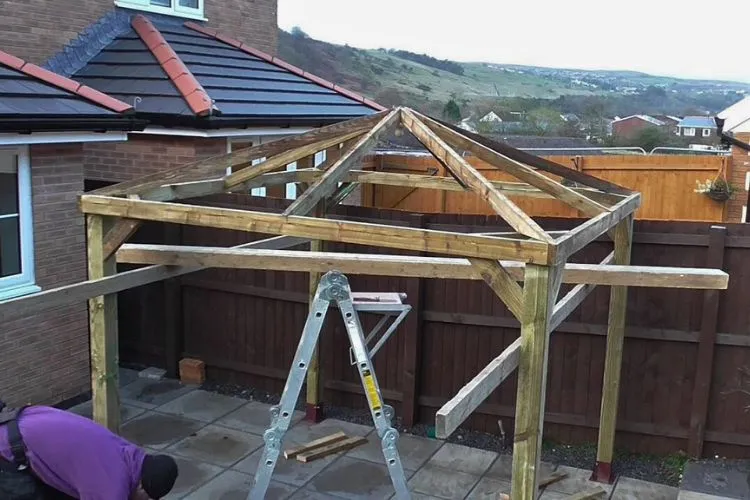
Building The Roof Frame
Installing the Ridge Board
The ridge board acts as the backbone of your roof, and its correct installation is crucial.
Secure the ridge board at the intended height, ensuring it is perfectly horizontal. This board will serve as the point of attachment for your rafters.
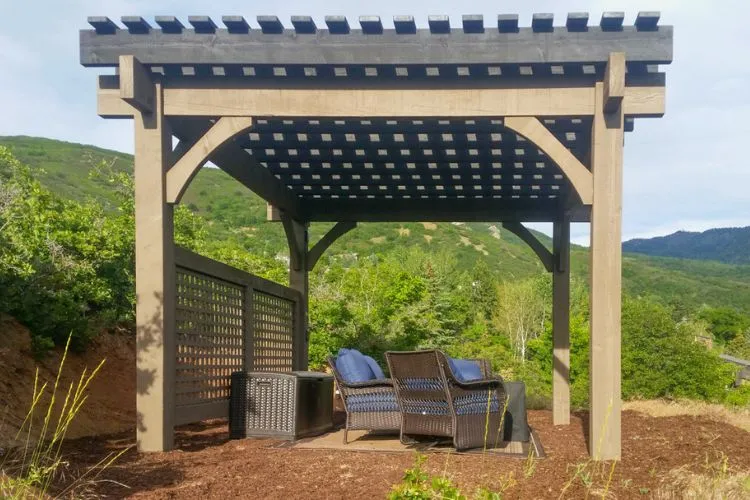
Attaching Rafters
With the ridge board in place, next is attaching the rafters. They should be laid out according to your design pattern, spacing them evenly.
Secure the rafters to both the ridge board and the gazebo structure, ensuring each connection is tight and secure.
Adding Roof Decking
After your frame is ready, lay the sheathing or plywood over the rafters to form the roof decking. This creates the base upon which your roofing material will lie.
Pay particular attention to waterproofing the seams between each plywood sheet to prevent leaks.
Waterproofing
The underlayment is your roof’s primary waterproofing barrier. Roll out the underlayment material across the entirety of your roof decking, ensuring that each strip overlaps the previous one. This overlap is critical for creating a water-resistant barrier.
Applying Roofing Material
Whether you choose shingles, tiles, or metal roofing, the application process varies slightly.
Start at the bottom of the roof and work your way upwards, ensuring each piece overlaps properly to prevent water intrusion.
Precision in this step ensures your roof is both functional and visually appealing.
Finishing Touches
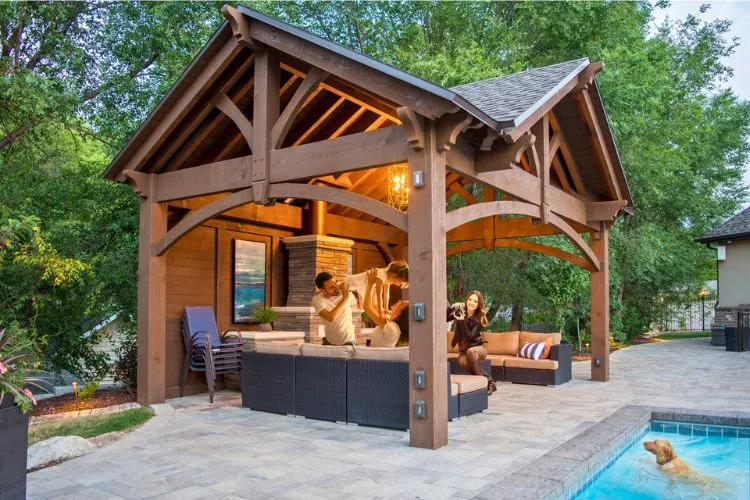
Installing Fascia
Fascia boards give your roof edges a clean, finished look and aid in protecting the roof structure from water damage. Install these boards along the roof’s perimeter, ensuring they are securely attached.
Additional Elements
For a more decorative touch, consider adding elements like cupolas or weathervanes, which can add character and charm to your gazebo roof.
Safety Precautions
Throughout the building process, prioritize safety. Wear appropriate personal protective equipment, adhere to ladder safety, and handle tools and materials properly. A cautious approach ensures your wellbeing and the success of your project.
Maintenance Tips
To keep your gazebo roof in top-notch shape, perform regular check-ups, ideally twice a year or after severe weather.
Be on the lookout for deterioration, such as tears, holes, or detached elements, and make sure to clear off any dirt, leaves, or branches.
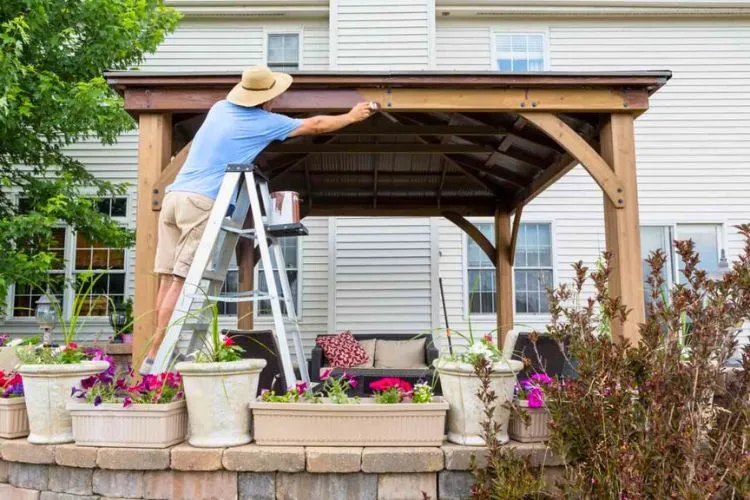
This not only maintains the roof’s aesthetic appeal but also prevents the build-up of moisture which can lead to rot or rust.
Addressing small defects quickly by patching holes or resecuring loose parts can avert extensive damage, thus saving you time and money on potential costly repairs.
Consistent, diligent care will extend the lifespan and beauty of your gazebo roof.
Frequently Asked Questions (FAQs)
What is the best material for a gazebo roof?
The choice largely depends on your budget, personal preference, and weather conditions in your area. Shingles are popular for their traditional look and durability, whereas metal roofing offers longevity and minimal maintenance.
Do I need a permit to build a gazebo roof?
Many localities require permits for structures like gazebos. Always check with your local building department to ensure compliance with regulations.
How do you ensure the gazebo roof is waterproofed?
Proper installation of underlayment and roofing material is key to waterproofing your gazebo roof. Ensure all seams and overlaps are correctly done to prevent leaks.
Can I build a gazebo roof in any climate?
While it’s possible, consider materials and designs suited to your climate. For example, areas with heavy snowfall will require a stronger structure to support the weight.
How can I make my gazebo roof more durable?
Opt for high-quality materials and follow best practices in construction. Regular maintenance also plays a significant role in extending the lifespan of your gazebo roof.
Conclusion:
Building a gazebo roof demands careful planning, precision, and attention to detail. However, the result is a durable and stylish addition to your outdoor space.
Take pride in your DIY project, knowing it enhances both the functionality and aesthetic of your gazebo.
Constructing a gazebo roof is an intricate task that enriches your outdoor living experience.
By following these steps and maintaining a focus on quality and safety, you’ll create a gazebo roof that stands the test of time.

Sergio Gomes, a passionate advocate for outdoor living and the male voice behind Shades Authority. With years of experience, Sergio is your trusted source for expert insights on gazebos, pavilions, cabanas, pergolas, and all things outdoor shade solutions. Join him on a journey to transform your outdoor spaces into stunning, functional retreats
